

| UPDATE Read the second installment for this tutorial HERE |
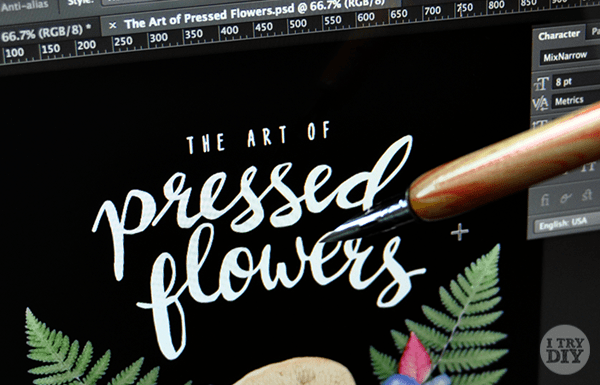
Everytime I see digital versions of other people’s calligraphy or lettering work, I’m amazed at how clean everything is. I’m no professional calligrapher or letterer. Trust me. Read my post on how to fake calligraphy. But when I do scan my work, I often question if the poor quality of the digital version was because I suck at writing or if I had a faulty scanner. After doing some research on how different illustrators digitize their work, I came up with this simplified method using Adobe Photoshop and Illustrator. Here’s how you can easily digitize your calligraphy or any other design work.
So, you start with a raw scan of your work. I use the term “work” loosely, because in my case here, this is more of chicken scratch doodles. I scanned these at 600dpi, but I think 300dpi would work just as well. If you’re working on simple black ink work, you can also choose to scan in B&W if your scanner has that capability.

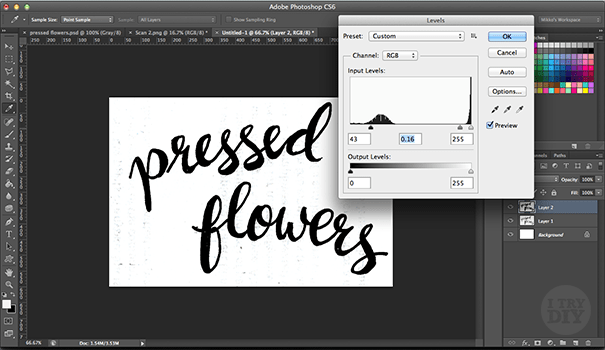
In Photoshop, I cropped the image to just the part I wanted to digitize. The first step is to adjust the levels. Select Image > Adjustments > Layers. There are 3 dropper icons on the right part of the pop-up. Choose the rightmost one. Click on a part of the image that should be white. This will help balance out the colors of the image.

Next, adjust the black, grey and white triangles in the input level to come up with the most saturated image you can get. The edges of your work might start getting jagged and messy. Don’t worry, you’ll be able to clean things up later!
Using the Magic Wand Tool, start clicking on the pieces and parts you want to digitize. This handy dandy magic wand truly is magic! Once you’ve selected exactly what you want, copy.

Next, open Adobe Illustrator. In a new document, paste your selection from Photoshop.
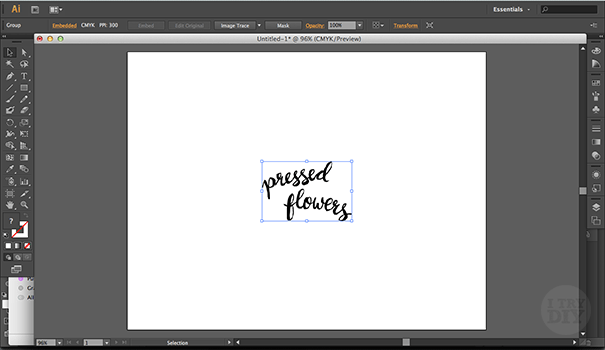
Enlarge the image as needed, to make things more manageable.

Next, select the Black and White Logo option under Image Trace.

Watch as Illustrator cleans up the outlines before your very eyes! Click on the Expand button to be able to make further adjustments.

Illustrator will automatically generate nodes and anchors for your image. You can skip this step if you’re already happy with how everything turned out.

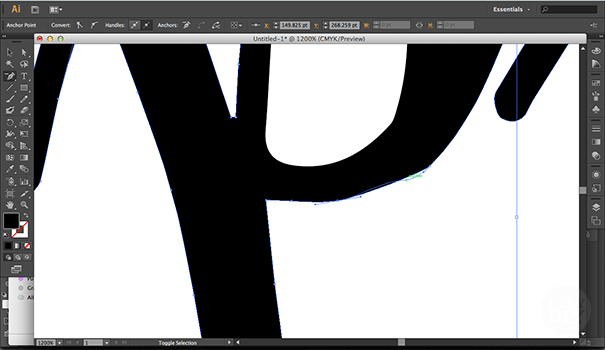
Select the Delete Anchor Point Tool to reduce any unwanted corners.

Zoom into your work, and remove any anchor points that give your work those harsh and jagged edges. You can also adjust how the curves look like. If you’re aiming for something overly perfect, this will be a tedious task that takes long to finish.
Once you’ve made all your fixes, select the image and copy.

Go back to Adobe Photoshop, and paste into a new document. Make sure to Paste As: Pixels.

Make sure to click the not-easy-to-find checkmark on the top right portion to make your image further editable in Photoshop.
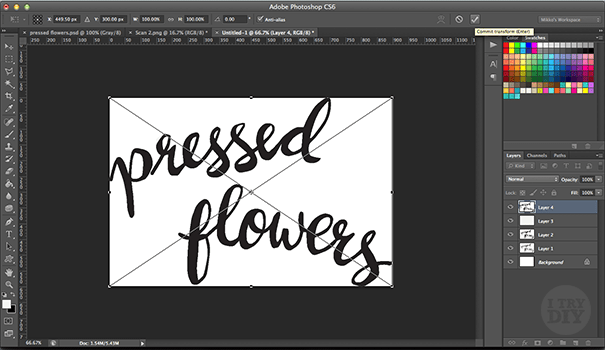
Like you did earlier, using the Magic Wand Tool select the words, letters and shapes you will be using. Then, choose Select > Inverse. Then hit delete on your keyboard (only once!).

You’ll then be able to move around pieces as you see fit. Rotate, resize, warp and distort to your heart’s content!

This is far from professional work, but here’s what I came up with once I was done digitizing my work. What do you think? i hope this helped you guys!

The Comments
Abbie
Does this turn the image into a vector file? Thanks so much! If not can you direct me to a video that teaches how to do this?
mikkomix
→ AbbieHi Abby! Yes, it does convert it to vector. Just do some tests and play around with this method. You’ll find what way works for you best! 🙂
How to Digitize Your Design Work (Part Deux) | I Try DIY
[…] How To Digitize Your Design Work […]
Shar Maine
Hi. Just saw this post and would like to ask since my adobe illustrator is outdated and its still CS3. Where could I find the image trace? because I can’t find it. Please Help. Been very problematic about this a long time ago.
Hoping I can receive a Message from you.
Thank you.
mikkomix
→ Shar MaineHi Shar! Unfortunately, I’m not quite familiar older versions of Illustrator. I rarely use it at all actually. Only for digitizing! So sorry I couldn’t be of more help. If I do find out, I’ll let you know!
Bind Your Own Books and Zines | I Try DIY
[…] How To Digitize Your Design Work […]
Bind Your Own Books and Zines | I Try DIY
[…] and printed out the fresh new cover pages for the mini-zine. This might look familiar from the How To Digitize Your Design Work tutorial. My zine’s pages are 3.5 x 5inches, and I made sure the cover had an allowance of at […]